 Pin
Pin
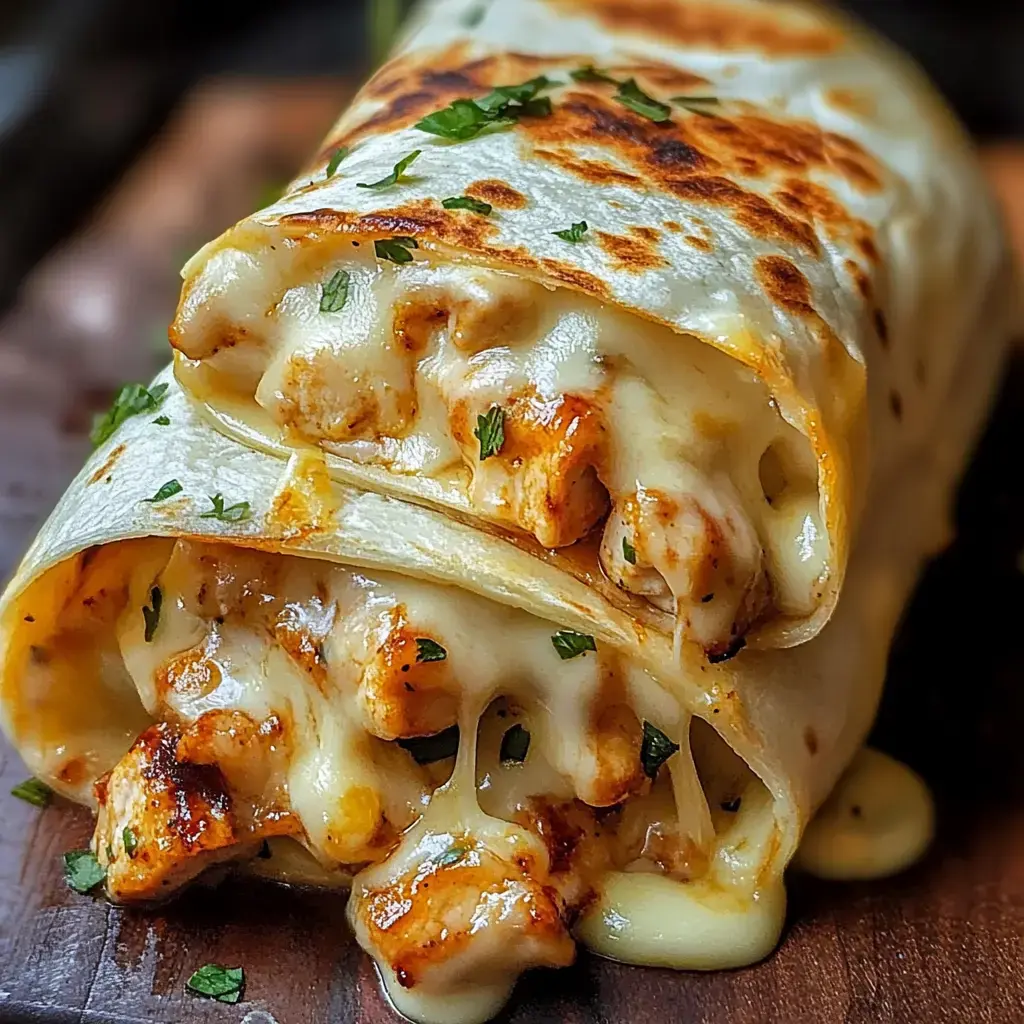
This gooey cheesy garlic chicken wrap recipe has saved countless dinner times at my house when hunger strikes and patience runs thin. The combination of tender chicken, melted cheese, and a perfect hit of garlic creates magic in every bite, all wrapped in a crispy golden tortilla.
I created these wraps one hectic Tuesday when my kids were particularly hangry and they've requested them weekly ever since. Something about the combination of crispy exterior and creamy filling makes them irresistible to everyone at my table.
- Shredded chicken: Two cups of rotisserie chicken saves time but any leftover chicken works beautifully
- Mozzarella cheese: Creates that perfect cheese pull when melted. Look for freshly shredded for best melting
- Cream cheese: Adds incredible richness to the filling. Let it soften at room temperature for easier mixing
- Butter: Use unsalted butter so you can control the seasoning better
- Fresh garlic: Provides aromatic foundation. Choose firm bulbs with tight skin for the freshest flavor
- Sour cream: Adds tanginess that balances the richness. Full fat creates the creamiest result
- Garlic powder: Reinforces the garlic flavor throughout the filling
- Italian seasoning: A convenient blend that adds depth and herbal notes
- Large tortillas: Choose flour tortillas that feel pliable and fresh
- Salt and pepper: Essential for bringing all flavors together
- Fresh parsley: Optional but adds bright color and fresh flavor
Step-by-Step Instructions
- Sauté The Garlic:
- Heat a skillet over medium heat and add your butter until it melts completely. Add minced garlic and cook for about 90 seconds until the kitchen fills with that irresistible fragrant aroma. Watch carefully as garlic burns quickly and becomes bitter. The garlic should be just turning golden but not brown.
- Season And Heat The Chicken:
- Add your shredded chicken directly to the garlic butter in the skillet. Sprinkle with garlic powder Italian seasoning and a generous pinch of salt and fresh ground pepper. Stir everything thoroughly to ensure each piece of chicken gets coated in the seasoned butter mixture. Cook for 2 minutes until everything is heated through and smelling amazing.
- Make The Creamy Filling:
- In a mixing bowl combine your softened cream cheese sour cream and half of your shredded cheese. Mix until smooth and well combined. Add the warm seasoned chicken from your skillet and fold everything together. The warmth from the chicken will help melt the mixture slightly creating a cohesive creamy filling that holds together perfectly.
- Assemble The Wraps:
- Lay out your tortillas on a clean work surface. Divide the chicken mixture evenly placing it in the center of each tortilla. Sprinkle the remaining cheese directly on top of the filling. To wrap fold in the sides first then roll from the bottom up creating a tight bundle. Ensure the seam is on the bottom to prevent unwrapping during cooking.
- Crisp The Wraps:
- Wipe your skillet clean or use a fresh one. Heat it over medium heat. Place your assembled wraps seam side down and cook for about 2 to 3 minutes until golden and crispy. Carefully flip with a spatula and cook the other side until equally golden and the cheese inside has fully melted. Allow to rest for 2 minutes before cutting which helps prevent the filling from spilling out.
The key revelation with this recipe came when I started using both fresh garlic and garlic powder. The fresh garlic provides that immediate aromatic punch while the powder distributes subtle garlic flavor throughout every bite. My daughter who typically picks anything green out of her food even accepts the parsley garnish on these wraps telling you everything you need to know about how good they are.
Leftover Magic
Store any leftover wraps in an airtight container in the refrigerator for up to three days. The key to reheating is to avoid the microwave which will make them soggy. Instead place them in a dry skillet over medium heat for about 4 minutes per side or in a 350°F oven for 10 minutes. This maintains that wonderful crispy exterior that makes these wraps so satisfying.
Easy Variations
The basic recipe provides an excellent foundation but easily adapts to what you have on hand. Try swapping the chicken for ground beef cooked with taco seasoning for a Tex Mex version. Vegetarians in my family enjoy these with black beans and sautéed peppers instead of chicken. Sometimes I add a handful of fresh spinach or arugula before rolling for extra nutrition. During summer months fresh basil and sun dried tomatoes create a Mediterranean twist that pairs beautifully with the garlic and cheese.
Serving Suggestions
These wraps shine brightest with simple accompaniments that complement without competing. A crisp green salad dressed lightly with vinaigrette provides refreshing contrast to the richness. My kids prefer carrot and cucumber sticks with ranch dressing on the side while my husband and I enjoy them with pickled vegetables for tanginess. During winter months a simple tomato soup alongside creates a complete meal that satisfies deeply.
Final Thoughts
Enjoy these wraps that marry savory garlic chicken with gooey cheese and a hint of creaminess. A speedy, delicious option for busy days.
Recipe Questions & Answers
- → Can I prep these wraps earlier?
Yes, just make the filling in advance and store it in the fridge. When you're ready, warm it up and assemble fresh wraps for a better experience.
- → How to keep wraps crispy when reheated?
If you're reheating leftovers, use a skillet or oven instead of the microwave. It'll help the tortillas stay nice and crisp.
- → What can replace sour cream?
Greek yogurt works well as a swap for sour cream. It'll give the same creamy texture with less fat and more protein.
- → Can I change up the cheese?
Absolutely. Use any cheese that melts well. For a twist, try feta or goat cheese to add unique flavors.
- → How long will leftovers stay good?
Keep leftovers refrigerated in a sealed container for up to three days. Always heat them thoroughly before eating.