 Pin
Pin
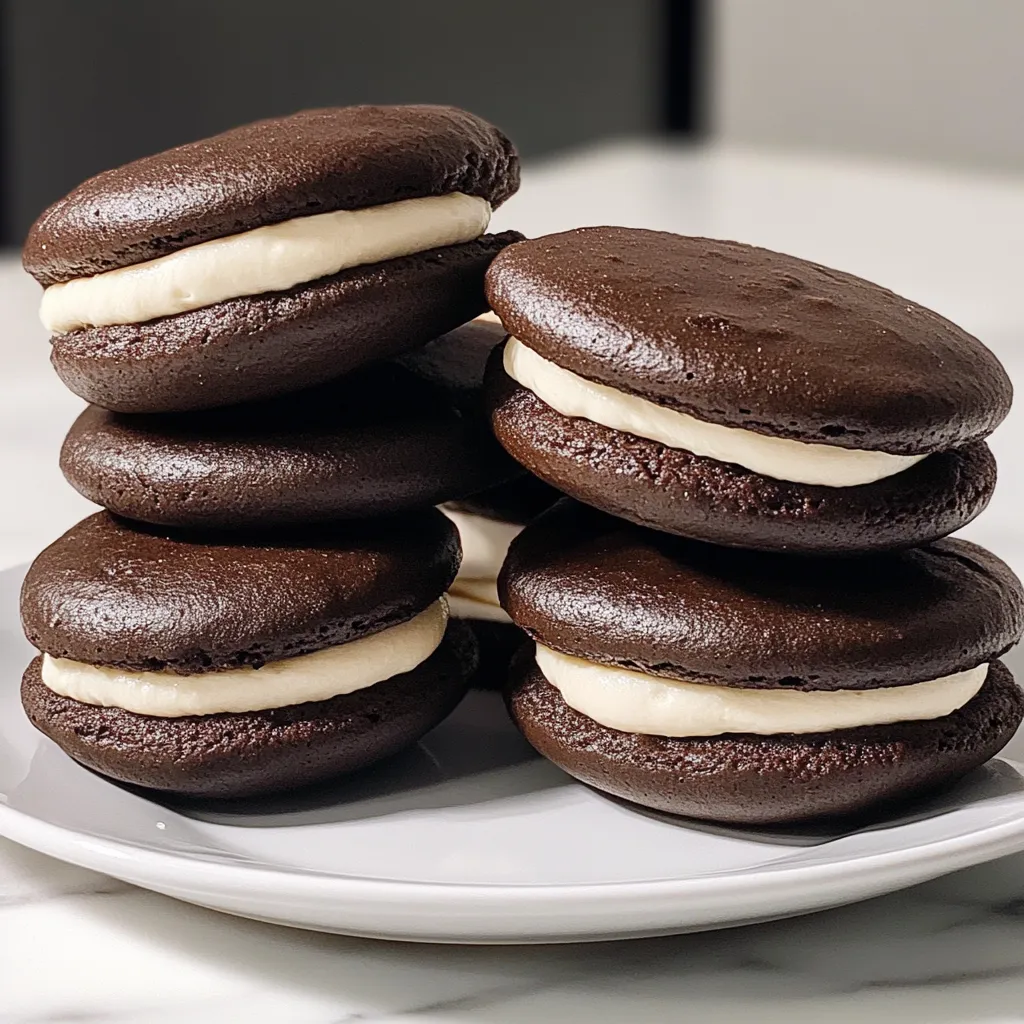
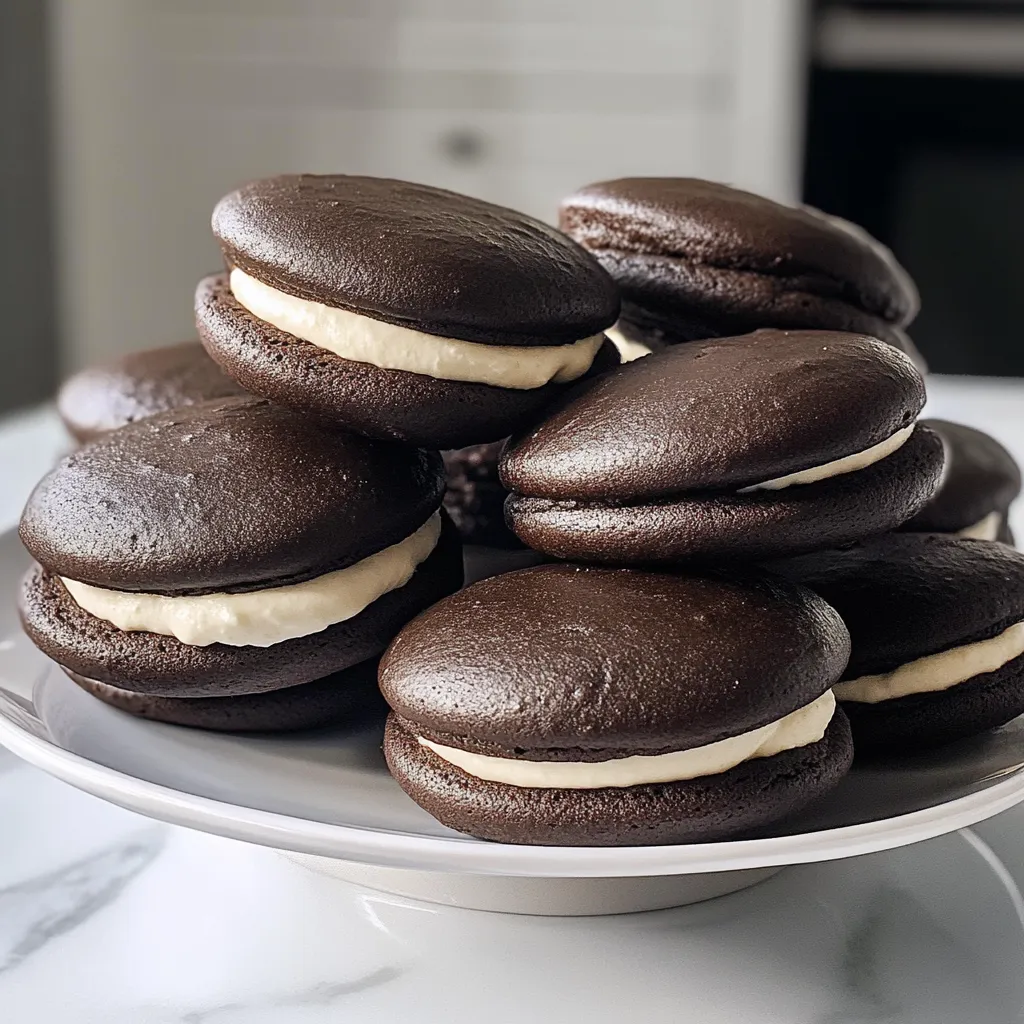
This classic whoopie pie recipe brings back childhood memories with every bite - soft, chocolatey cake-like cookies embracing a creamy marshmallow filling that's simply irresistible. My family requests these for every gathering, and they're always the first dessert to disappear from the table.
I first made these for my daughter's birthday party when the bakery order fell through at the last minute. What started as a kitchen emergency became our most requested family treat. Now we make a double batch for every holiday.
Ingredients
- All purpose flour: creates the perfect cake-like texture while providing structure to hold the filling
- Dutch process cocoa powder: gives these a deep rich chocolate flavor that regular cocoa simply cannot match
- Baking soda: provides the perfect rise creating that classic dome shape
- Sea salt: enhances both the chocolate and vanilla flavors while balancing sweetness
- Unsalted butter: at cool room temperature creates the ideal creamy base for both components
- Dark brown sugar: adds moisture and a subtle caramel undertone to the chocolate
- Buttermilk: creates remarkable tenderness and helps activate the baking soda
- Marshmallow creme fluff: forms the base of the nostalgic filling that defines authentic whoopie pies
- Powdered sugar: stabilizes the filling and adds just the right sweetness
- Vanilla extract: enhances both components with warm aromatic notes
Step-by-Step Instructions
- Prepare Your Workspace:
- Preheat oven to 375°F and line baking sheets with parchment paper. Measure and sift dry ingredients to eliminate any cocoa lumps that would ruin the smooth texture. Having everything ready before mixing ensures the proper chemistry of the batter.
- Create The Chocolate Base:
- Beat butter and brown sugar for a full 3 minutes until genuinely light and fluffy. This is not just mixing but incorporating air which creates the perfect texture. Add egg and vanilla beating another 3 full minutes to create a stable emulsion that will hold the structure.
- Combine Wet And Dry Ingredients:
- Alternate adding dry ingredients and buttermilk beginning and ending with dry. This prevents overmixing and gluten development which would make tough whoopie pies. Mix just until combined scraping the bowl thoroughly to ensure no dry spots remain.
- Shape And Bake:
- Use a scoop for uniform sizing which ensures even baking and perfectly matched sandwich halves. Place mounds with adequate spacing to allow for spreading during baking. Look for the visual cue of dry tops and the tactile test of slight springback to determine doneness.
- Prepare The Filling:
- Beat marshmallow creme and butter on low speed first to prevent ingredients from flying out of the bowl. The full 3 minutes of beating creates an exceptionally smooth texture that pipes beautifully. Proper incorporation of powdered sugar ensures a stable filling that won't squeeze out when eating.
- Assemble With Care:
- Use the same scoop for filling to ensure consistent amount in each pie. Place filling on the flat side of half the cakes and sandwich gently to prevent crushing. The slight pressure will spread the filling perfectly to the edges without overflow.
 Pin
Pin
My grandmother used to make these during the Great Depression when expensive treats were hard to come by. She always said the secret was in the patience of beating the batter thoroughly. I still hear her voice reminding me not to rush this step whenever I make them.
Perfect Make-Ahead Option
Whoopie pies actually improve with a little time in the refrigerator. The cake portions become slightly more fudgy and the filling firms up to the perfect consistency. Make these up to two days before your event for the best flavor development. Just be sure to store them in a single layer in an airtight container to prevent them from sticking together.
Regional Variations
These delicious treats have fascinating regional differences across America. In Maine, they're made with vegetable shortening in the filling for stability. Pennsylvania Amish versions often include a touch of molasses in the cake. Some New England bakeries add a hint of peppermint extract to the filling during holiday seasons. Try these variations to discover your family's favorite version.
Serving Suggestions
Present these on a tiered platter for an impressive dessert table centerpiece. For a decadent twist, serve slightly chilled with a scoop of vanilla ice cream between two halves instead of the traditional filling. During summer gatherings, try rolling the exposed edges of the filling in mini chocolate chips, crushed candy, or colored sprinkles for a festive appearance that kids absolutely adore.
Troubleshooting Tips
If your cakes spread too much during baking, your butter might be too warm. Chill the batter for 15 minutes before scooping. When filling squeezes out when bitten, the filling might be too soft. Add an extra tablespoon of powdered sugar to stabilize it. Store assembled whoopie pies in the refrigerator for at least 30 minutes before serving to help prevent this issue.
Recipe Questions & Answers
- → How do I make the cakes fluffy?
Ensure the butter and sugar are creamed until light and fluffy, and don't overmix once the dry ingredients are added.
- → Can I use regular cocoa powder instead of Dutch-process?
Yes, but the flavor profile may differ slightly since Dutch-process cocoa is less acidic and smoother in taste.
- → How should I store the whoopie pies?
Store them in an airtight container at room temperature for up to a day or refrigerate for up to four days.
- → Can I freeze the whoopie pies?
Yes, wrap them individually in plastic wrap and store in a freezer-safe container for up to two months. Thaw before serving.
- → What can I use as a substitute for marshmallow fluff?
You can make your own by whipping egg whites, sugar, and vanilla over a double boiler until glossy peaks form.