 Pin
Pin
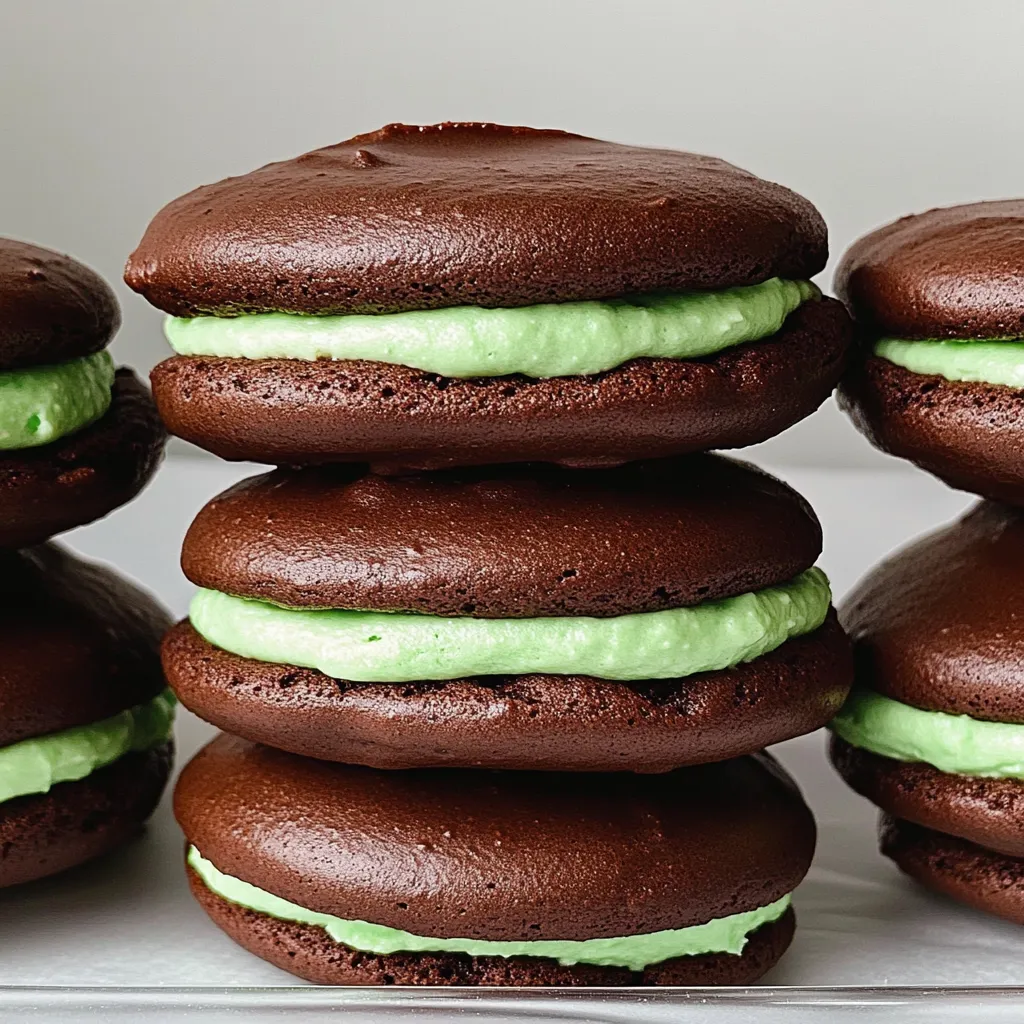
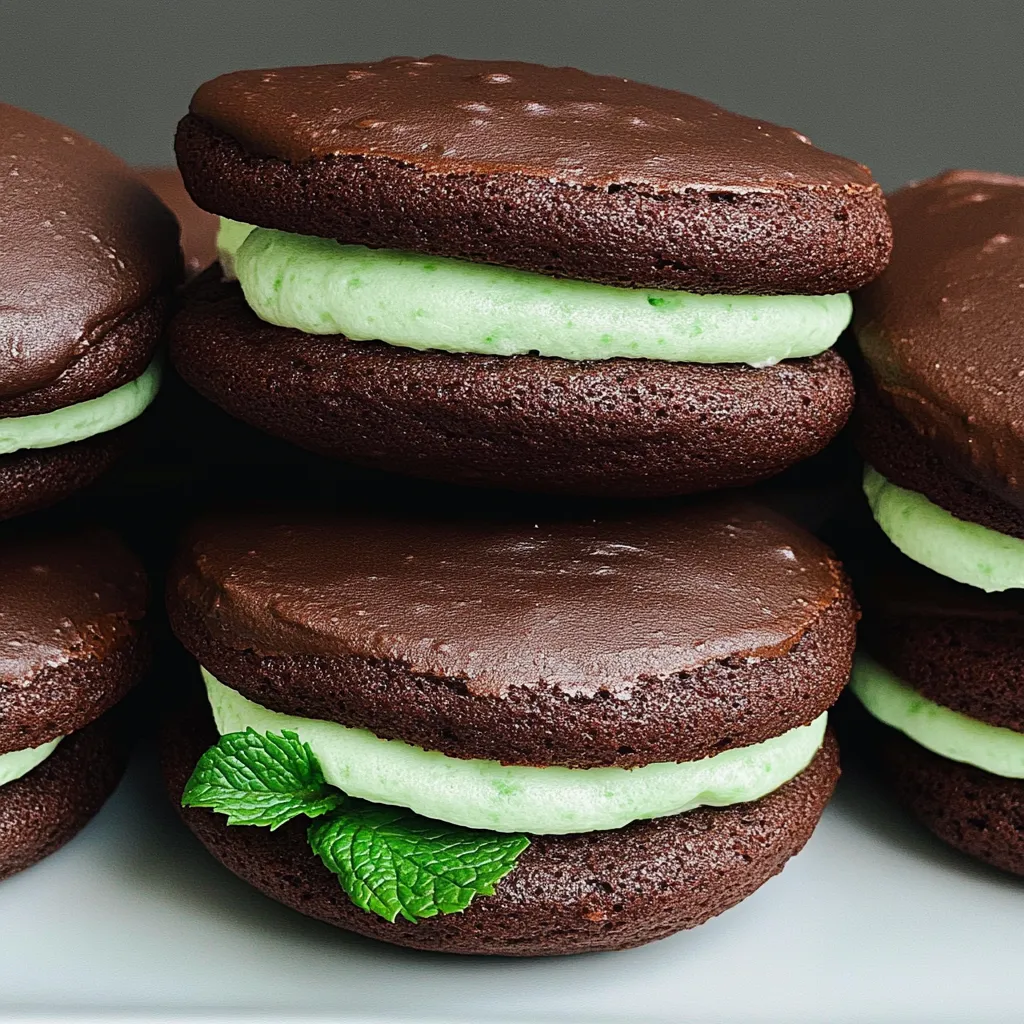
This decadent chocolate whoopie pie recipe transforms simple ingredients into a nostalgic treat that brings back memories of childhood bakery visits. The contrast between the rich, moist chocolate cakes and the cool mint filling creates an irresistible flavor combination that disappears quickly whenever I make them.
I first made these for my nieces birthday party as an alternative to traditional cake. The mint chocolate combination was such a hit that the adults ate more than the children and now this recipe has become our standard celebration dessert.
Ingredients
- All purpose flour: Provides the perfect structure without becoming too dense or heavy
- Dutch process cocoa powder: Gives these a deep chocolate flavor and beautiful dark color
- Buttermilk: Creates tenderness in the cake while activating the baking soda
- Brown sugar: Adds moisture and a subtle caramel undertone that enhances the chocolate
- Peppermint extract: Delivers that classic cool mint flavor that pairs perfectly with chocolate
- Heavy cream: Lightens the filling texture for the perfect creamy consistency
- Green food coloring: Optional but makes these festive and visually appealing
Step-by-Step Instructions
- Prepare Your Workspace:
- Begin by preheating your oven to 375°F and lining your baking sheets with parchment paper. This temperature is crucial for getting the right rise and texture in your whoopie pies. Make sure your butter and eggs are truly at room temperature for proper incorporation.
- Combine Dry Ingredients:
- Sift together the flour cocoa powder baking soda and salt. Sifting is absolutely essential here to remove any lumps from the cocoa powder which would create bitter spots in your finished cakes. Take your time with this step as it ensures even distribution of leavening agents.
- Create The Cake Base:
- Beat the butter and brown sugar for a full 3 minutes until truly light and fluffy. This incorporates air into the batter which helps create that signature soft texture. When you add the egg and vanilla extract beat for another full 3 minutes. Most bakers rush this step but this extended mixing time is what gives whoopie pies their distinctive texture.
- Mix The Batter:
- Add half the dry ingredients and half the buttermilk mixing until just combined then repeat with remaining ingredients. The batter will look fluffy and slightly sticky almost like a thick cake batter. Be careful not to overmix at this stage which would develop too much gluten and make tough cakes.
- Portion And Bake:
- Use a spring loaded scoop to create uniform portions spaced 2 inches apart on your prepared baking sheets. The uniformity ensures even baking and perfect sandwiching later. Bake until the tops appear dry and spring back when lightly touched about 11 minutes.
- Create The Filling:
- Beat the powdered sugar and butter until completely smooth then add salt peppermint extract and cream. Beat until light and fluffy adjusting consistency with more cream if needed. This filling should be pipeable but sturdy enough to hold its shape between cakes.
- Assemble Your Whoopie Pies:
- Once cakes are completely cooled scoop or pipe filling onto the flat side of half the cakes then gently press the remaining cakes on top. Apply gentle even pressure to spread the filling just to the edges without squeezing it out.
 Pin
Pin
My grandmother first introduced me to chocolate mint desserts when I was only seven years old. She would make a version of these for every Christmas gathering claiming the mint helped digest all the holiday food. While I cant verify the digestive benefits I can confirm that the combination of cool mint with rich chocolate creates an almost magical flavor that transports me back to her kitchen every time.
Storage Solutions
Whoopie pies actually improve with a bit of rest allowing the flavors to meld and the cake to soften slightly from the moisture in the filling. Store assembled pies in an airtight container at room temperature for up to a day or refrigerate for up to four days. The key is bringing them back to room temperature before serving as cold buttercream can be too firm and the flavor compounds in the mint extract release better at room temperature.
Flavor Variations
While the classic mint chocolate combination is hard to beat this versatile recipe welcomes creative adaptations. Try adding a tablespoon of espresso powder to the chocolate cake for a mocha mint variation or replace the mint filling with peanut butter frosting for a chocolate peanut butter version. During fall replace the mint with cinnamon and a touch of cayenne for a Mexican hot chocolate inspired treat. The chocolate cake base remains the same providing endless possibilities.
Troubleshooting Tips
If your whoopie pies spread too much during baking your butter was likely too warm or you didnt measure the flour properly. Chill the batter for 20 minutes before scooping to help them hold their shape. If the cakes seem dry you likely overbaked them even by just a minute or two. Watch carefully during the last minutes of baking and remove when they just spring back. For filling thats too soft increase the powdered sugar by 1/4 cup and chill before piping.
Recipe Questions & Answers
- → How do I make the chocolate cakes moist?
The combination of buttermilk and unsalted butter in the batter ensures a moist texture, while proper creaming of the butter and sugar helps maintain fluffiness.
- → Can I substitute peppermint extract?
Peppermint extract gives the traditional mint flavor, but you can try vanilla or almond extract for a different twist. Ensure it's pure extract for the best taste.
- → How should I store these treats?
Store in an airtight container at room temperature for up to a day or in the fridge for up to 4 days. Bring to room temperature before serving.
- → Can I add food coloring to the filling?
Yes, green gel food coloring is optional but adds a festive touch for holidays like Christmas or St. Patrick’s Day.
- → What’s the best way to assemble the pies?
Use a spring-loaded scoop or piping bag to evenly dollop or pipe the filling. Gently sandwich with another cake for a neat and delicious finish.